

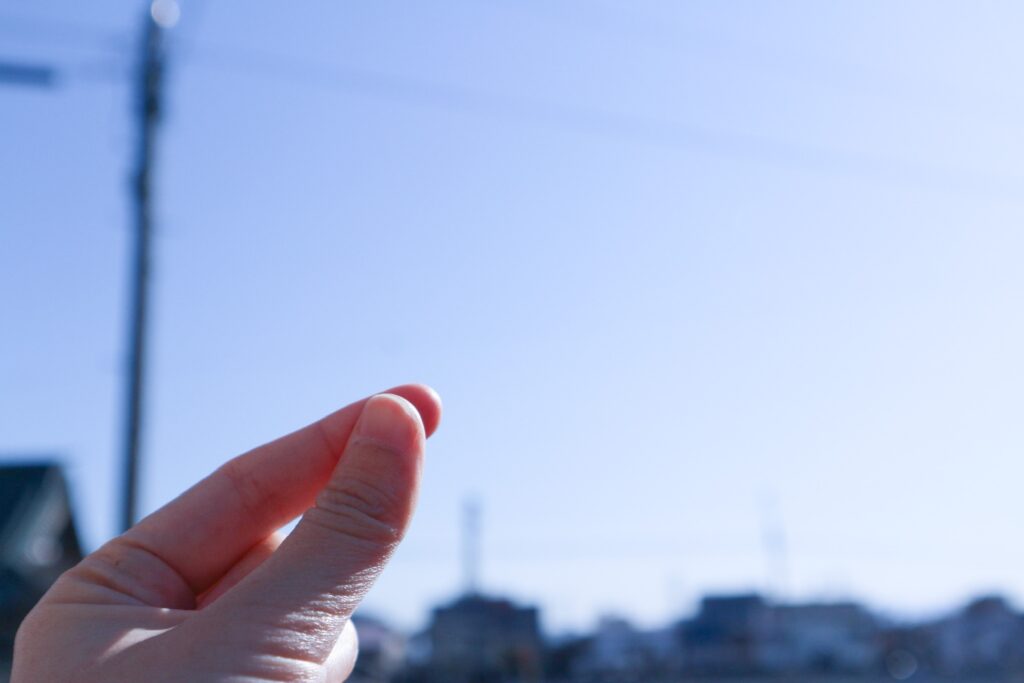
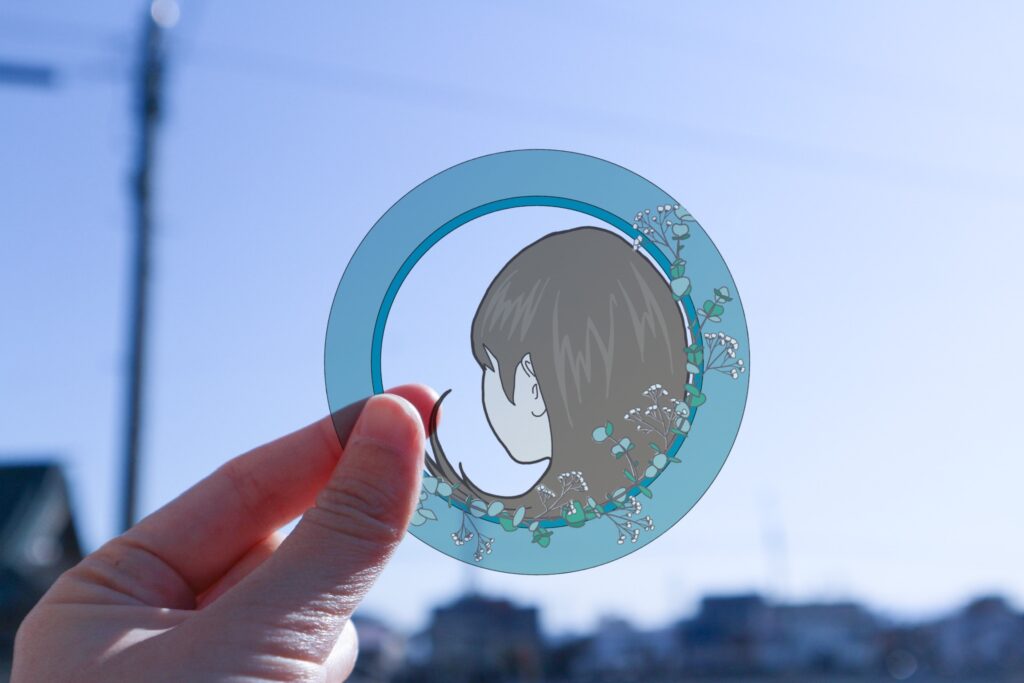
画像を実際に手にしているかのようなこちらの写真。

作り方を教えてほしいとのお声があったので、こちらに作り方を残しておきます。
スマホで無料で作ることができるので是非試してみてください。
用意するもの
・つまんでいる手の写真
・持ちたい画像

画像は白い部分が透明になってしまうので、色のついた画像を使うのがおすすめです!
※音楽のジャケット等を利用するのは著作権侵害に当たりますので、オリジナルの写真や絵、フリー素材の画像をご用意ください…!
Picsartを使った作り方
私が投稿した画像は「Picsart」というアプリで作成しました。
アプリのインストール手順
まずはアプリをインストールしましょう。
以下からダウンロードできます↓


インストール直後はログインが必要になります。アカウントを作成するか、利用しているアカウントでログインをしてください。
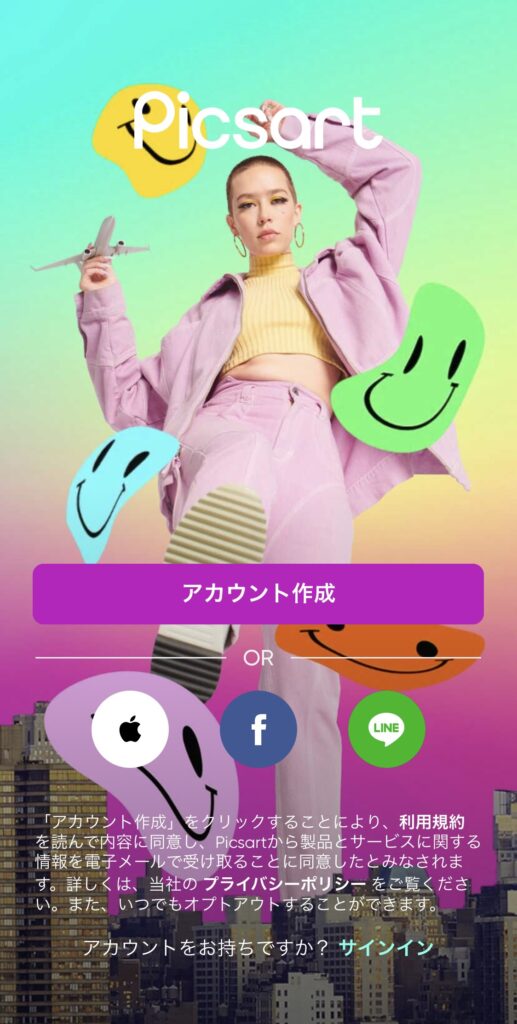
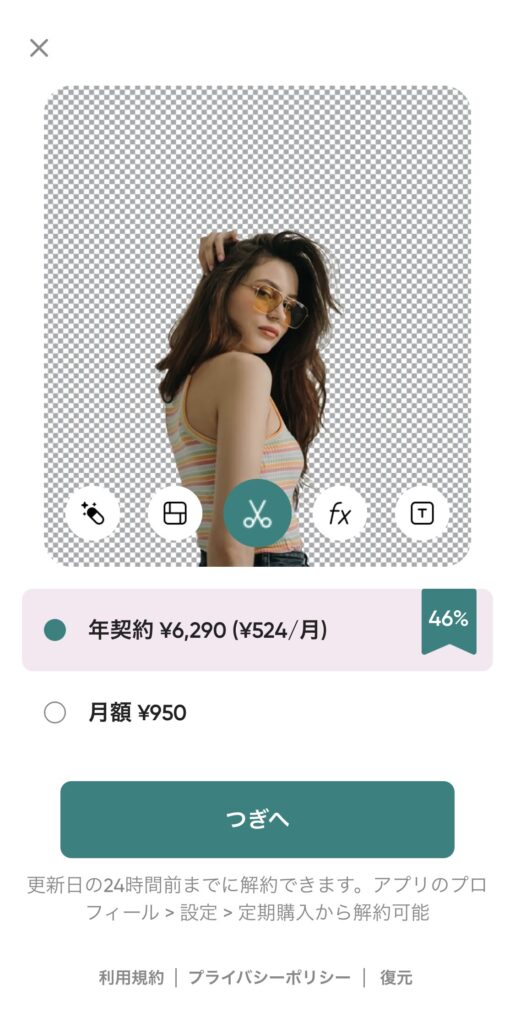
ログインをすると以下のようなサブスクの広告が出てきますが、無料で利用する場合は左上の×を押して消しましょう。
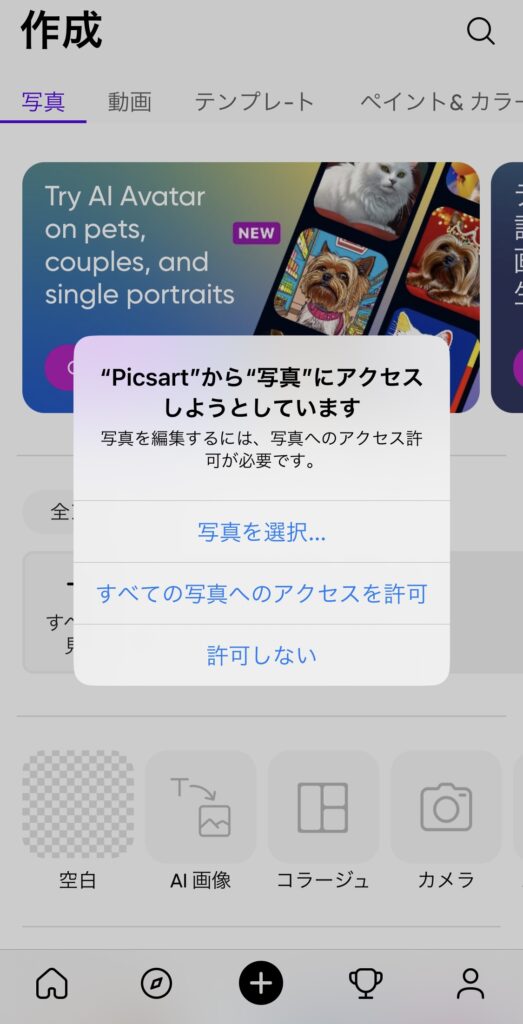
アプリに入ると写真へのアクセスの許可について聞かれるので、「すべての写真へのアクセスを許可」を選択してください。
写真の作り方
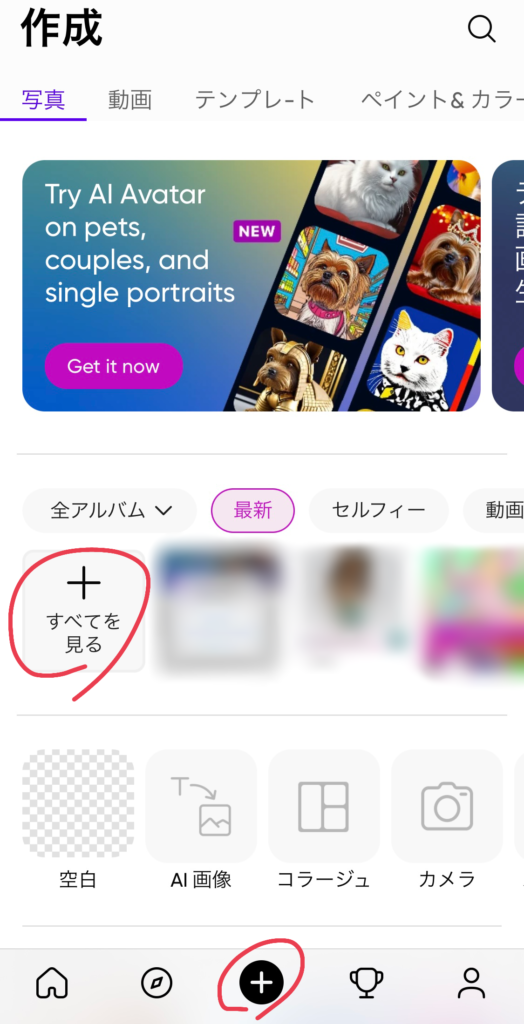
まずは画面下にあるプラスマークを選択しましょう。
画面中央あたりに、「すべてを見る」というボタンがあるので、そこからご自身の「手の写真」を選択してください。
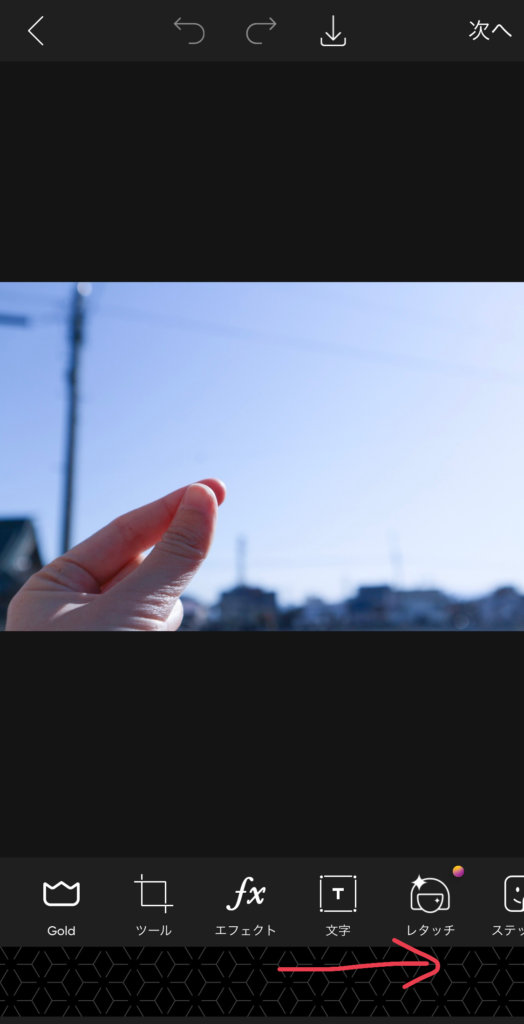
写真を選択すると以下のような画面になります。
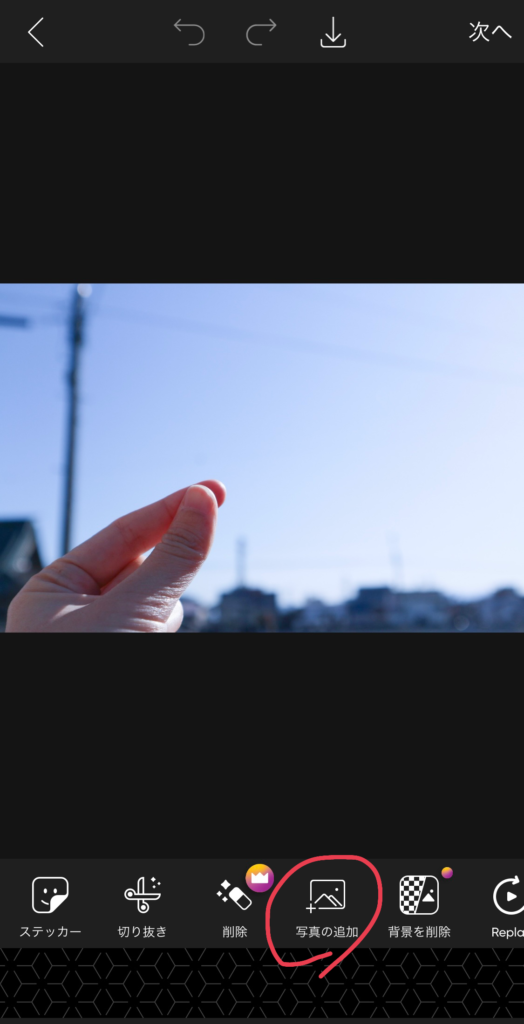
下のボタンを横にスクロールして「写真の追加」を選択し、持ちたい画像を選択してください。
画像を追加すると以下のような画面になります。
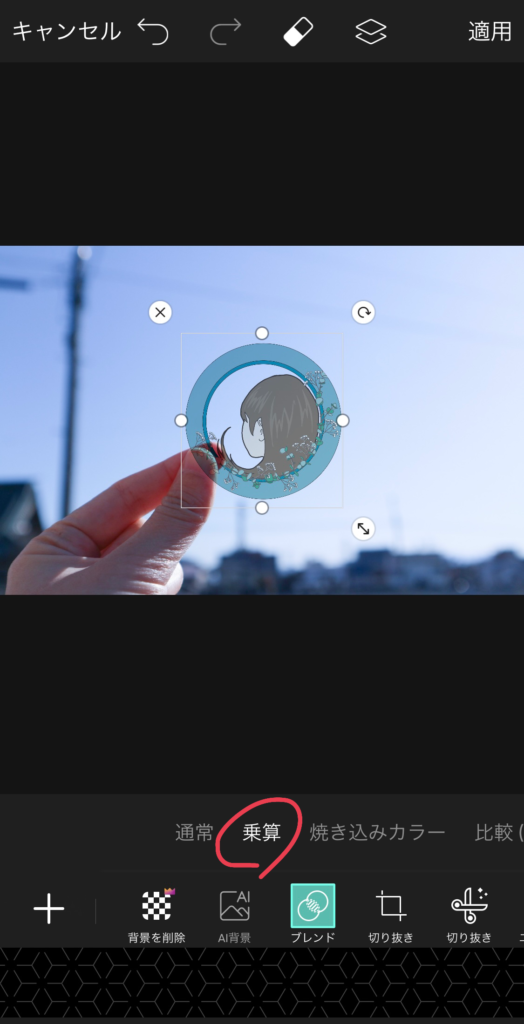
画面下にある「ブレンド」というボタンをタップし、乗算を選択すると画像がいい感じに透過されます!
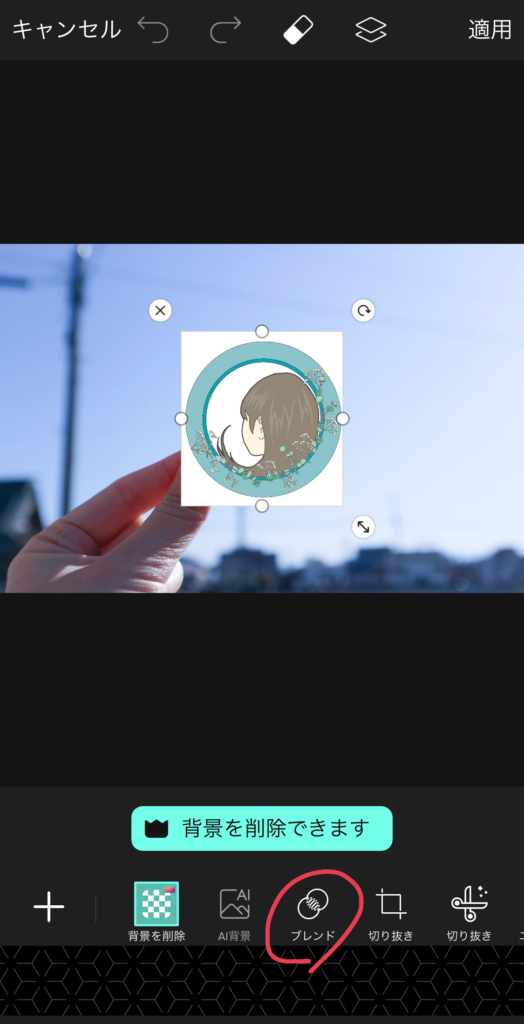
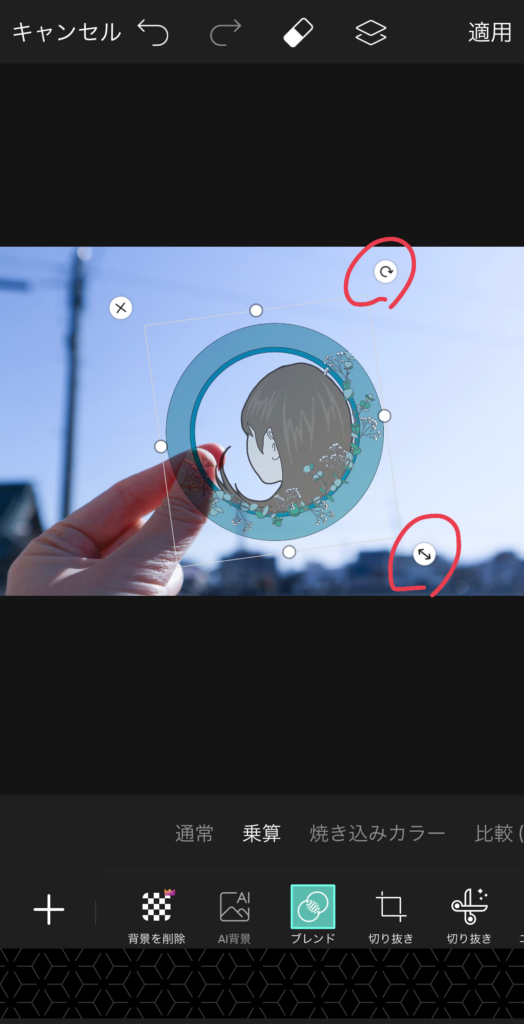
また、画像の角にある矢印を押すと画像の大きさや角度を調節できるので、画像を持たせたい位置に配置しましょう。
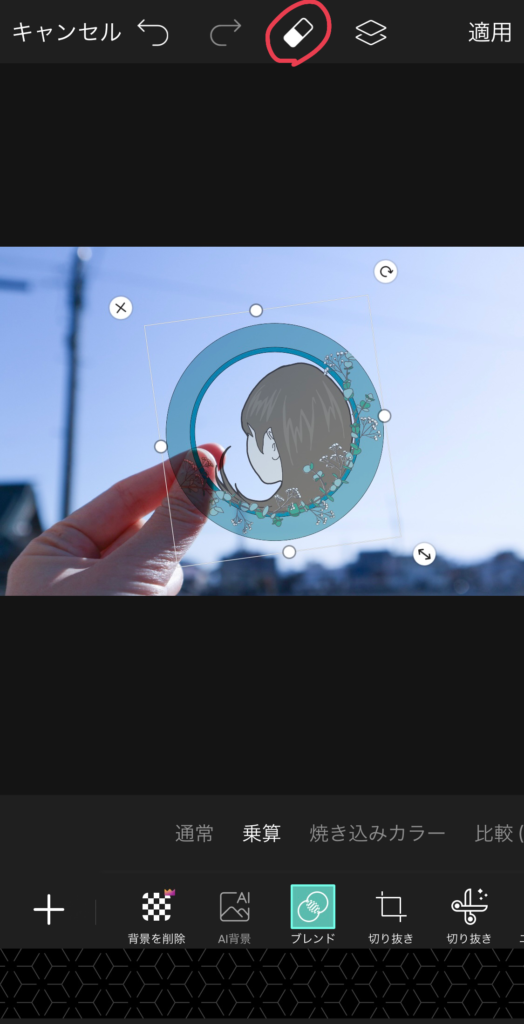
画像の配置ができたら、次は画像と指が重なっている部分を修正します。
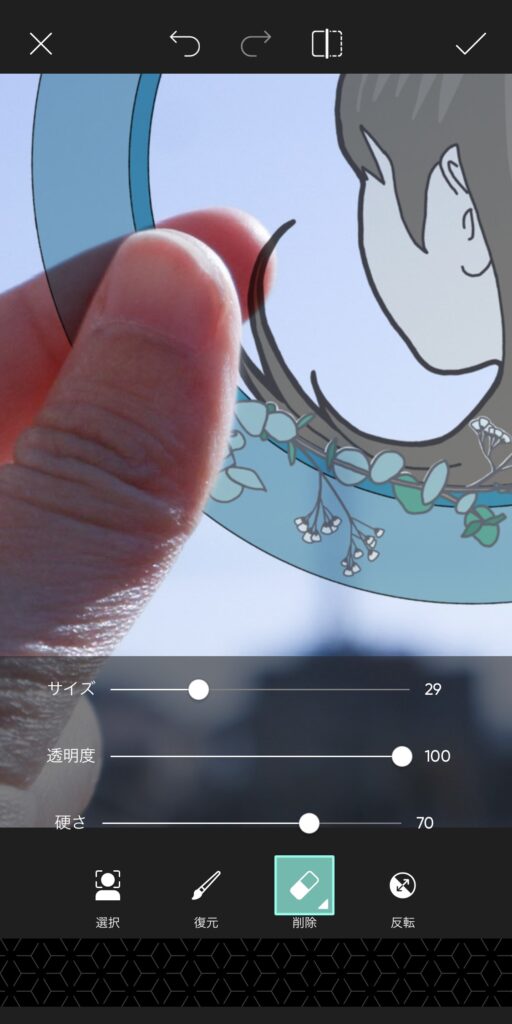
まず、画面上にある消しゴムマークをタップします。
すると以下のような画面になるので、「削除」というボタンをタップします。
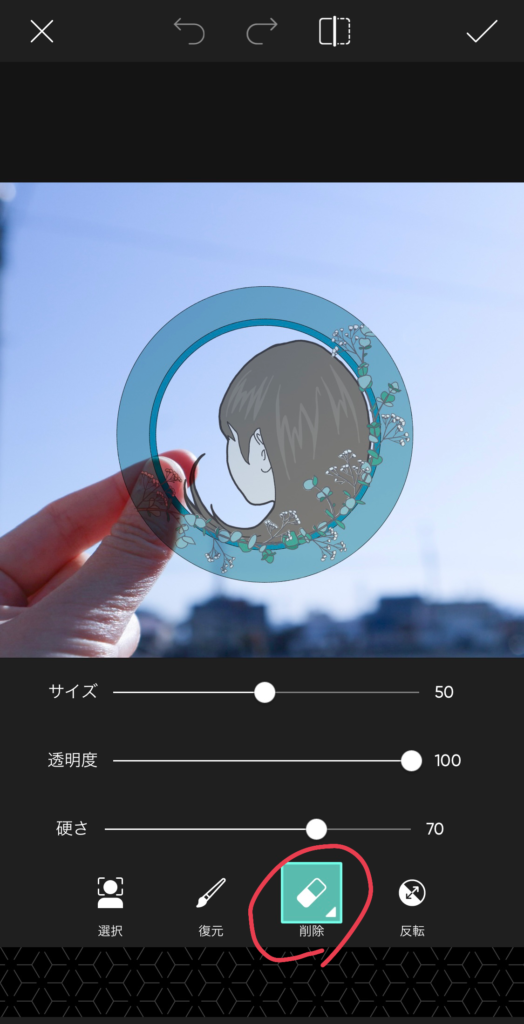
この状態で指で画面をなぞると、追加した画像だけ消すことができます。
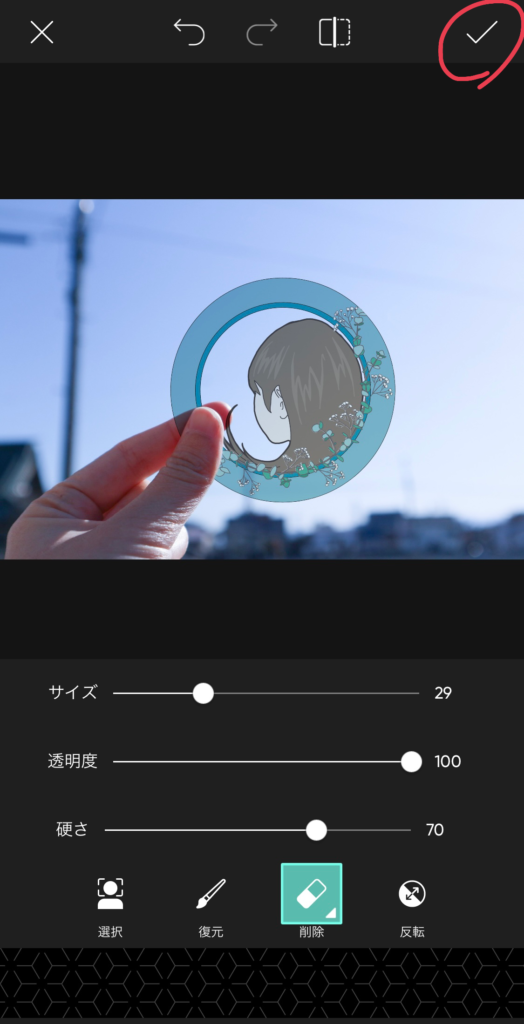
これを使って、手前の指(この写真だと親指)に重なっている部分を消していきます。
画像を持っているように見えたら、右上のチェックマークを押しましょう。
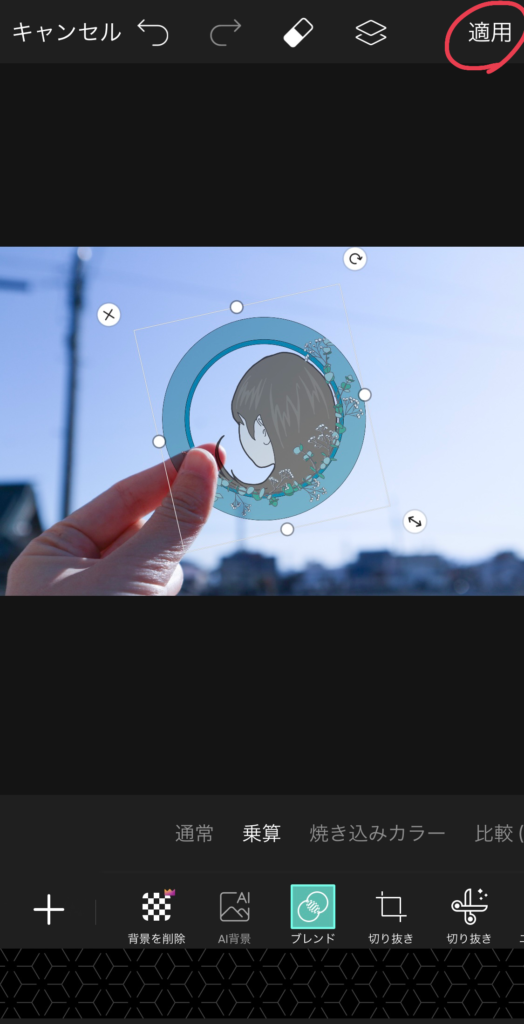
追加した画像の修正が全て終わったら、適用を押して画像を完成させます。
画像が完成したら保存しましょう。
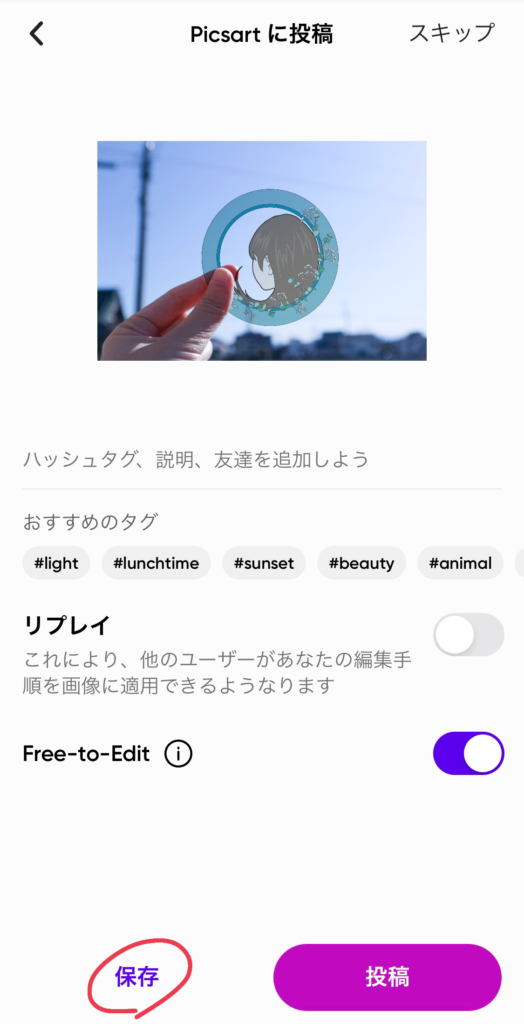
右上の「次へ」をタップします。
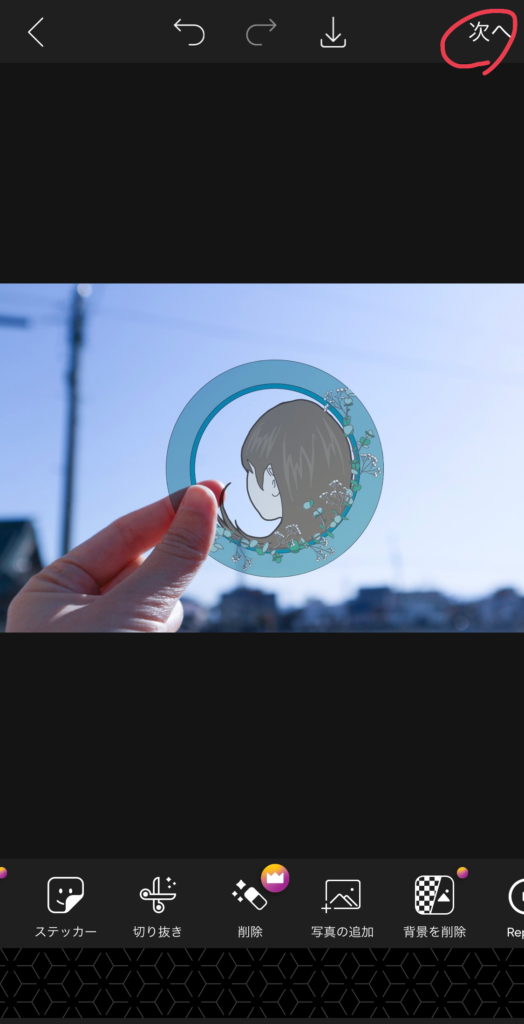
以下のような画面になるので、「保存」を選択します。
この画面になったら再度「保存」を選択します。
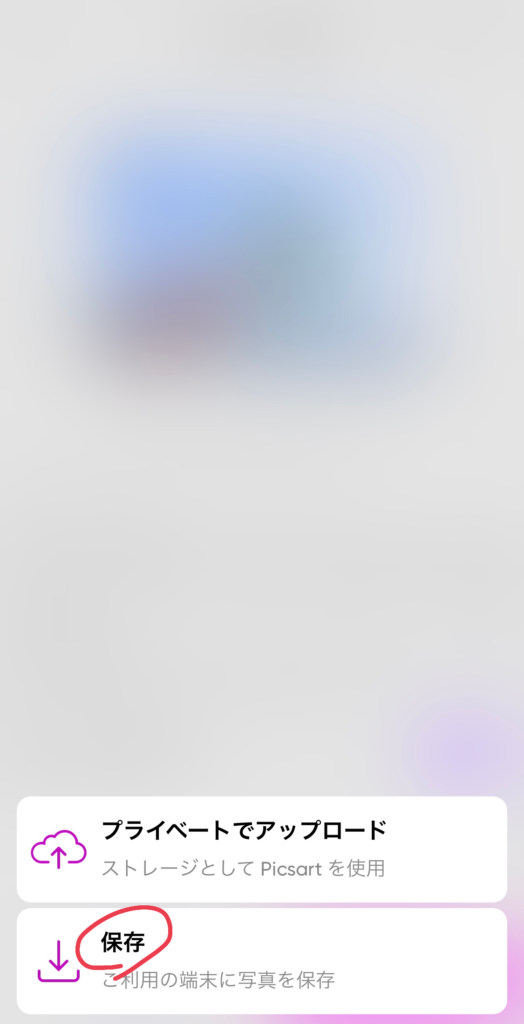
これで、写真の保存がされました!
スマホの写真フォルダを確認してみてください。
いかがだったでしょうか。
一見不思議に見える画像も、案外シンプルな方法で作ることができます。
是非、素敵な画像を作ってみてください!
コメント